If, when doing research for a particular product, you always choose the same basic criteria then you could save yourself time and set these up as Preset Criteria. Presets can be set up on a Personal basis (just for you to use) or a Company basis (for all users of a licence to use).
This article confirms how to set up Personal preset criteria.
Within Synaptic Research, select the Preset criteria button from the Menu Bar:

The following will appear, select the product that the preset criteria need to be set up for, by clicking on None:
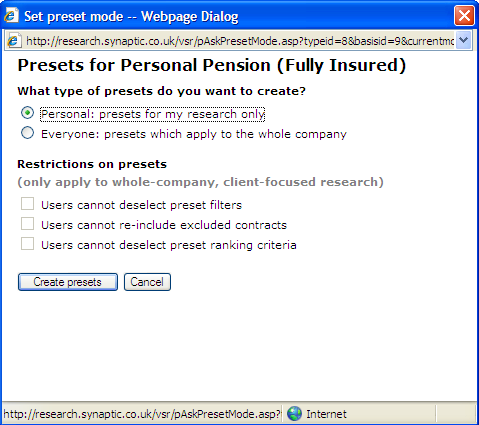
Once None has been selected, a box will appear asking what type of presets need to be set up. Choose Personal:

Now click Create presets to continue. Once in the next screen choose the criteria that you will always use for your research:

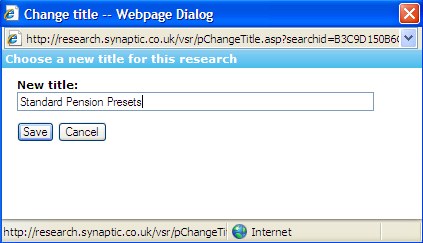
Once the criteria have been chosen, it is useful to re-name the preset criteria. Use the Change Title button on the Menu Bar:

Complete the title and click Save:

Once done, navigate back to the preset criteria list - using Presets List on the Menu Bar. This preset will now be showing. To set up additional presets for the same product, simply click on (Create new) and repeat the process:

When a piece of research is now being done for this product type, there will be some subtle differences. On the Pension Savings page, there will be an indication that Personal Pensions have some preset criteria:

After selecting Personal Pension (Fully Insured) to start some research, when entering the client details, confirmation will show at the top of the page that preset
criteria will be used for this piece of research:

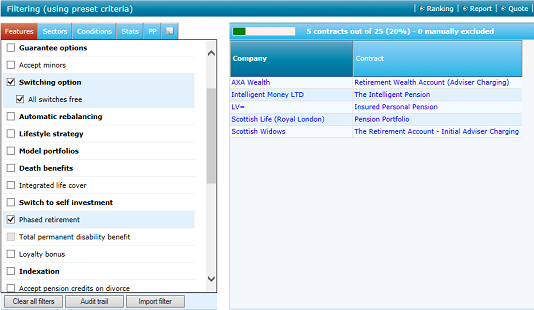
When the Start Research button is selected, the filtering criteria set up within the preset criteria will automatically be applied to the piece of research:

As these are Personal Presets, they can be amended for a piece of research i.e. a filtering criteria can be unchecked.
You have now completed this task.
For details of setting up Company presets, please see article 'How do I set up Company Presets?'.
