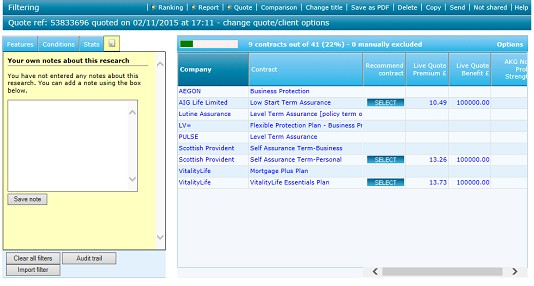
You can record notes about your research to remind you of key points, or to act as a to-do list. The note entry form is displayed as an extra tab above the list of fields, and is illustrated by the first screenshot below.

You simply enter text into the box and click on the Save note button.
Once notes have been entered for a piece of research the icon for the notes tab changes colour from grey to yellow. This is illustrated by the second screenshot, and provides an immediate indication when you open a piece of research of whether a note has been recorded.

Notes are displayed in reverse chronological order – i.e. most recent first. You can delete notes by clicking on the cross icon in the header for the note, to the left of the text describing who created the note and when. This is illustrated by the third screenshot.

New notes can be added either by using the new note link which is displayed at the bottom of the list, or using the icon which is shown in the header of the first note (next to the Delete note icon).
You also have the option of adding a note when sending research to another user. The recipient of your research can see all the notes you have entered, but cannot delete them. Similarly, you cannot delete notes which other users have created.

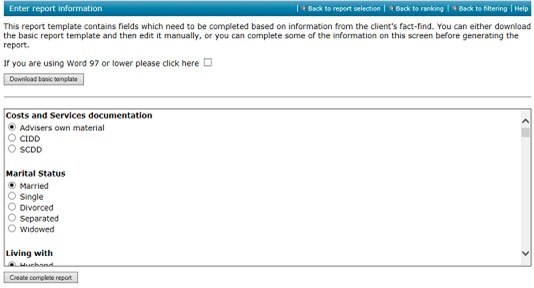
Once again, your browser will then ask you whether to save the document on your hard disk or open it directly in Microsoft Word.
