Cases are used by multiple businesses within FintelIQ.
Before using the Case area, you will need to configure your views to make sure you can track and view your own teams cases.
Start by navigating to Cases in the left menu:

View usually defaults to My Active Cases. This is not the best view to use if you are part of a team with multiple people logging cases, as this view only contains cases you (the current user) has created.
We will need to select a view of All Cases and use filters to narrow down the case list.
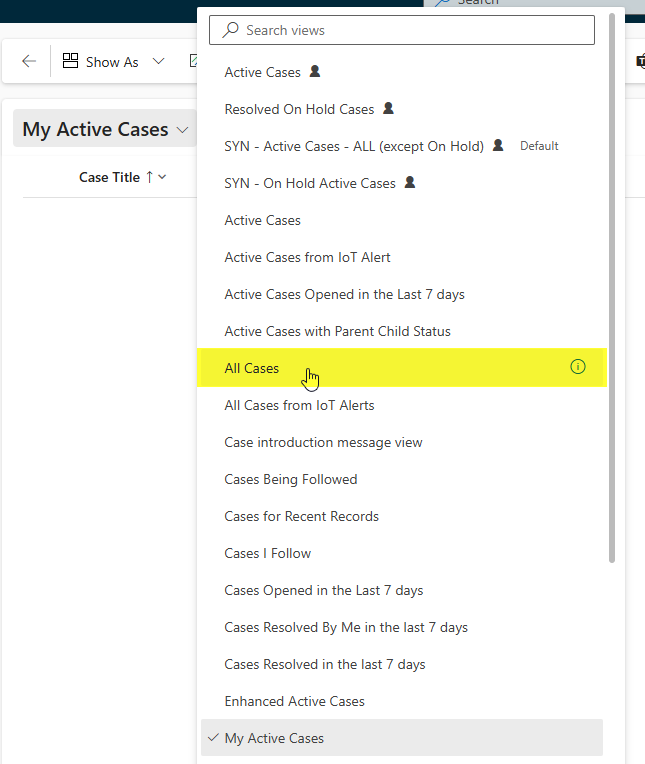
Click into the view dropdown:

Select All Cases. This will return all cases within Dynamics 365 including Active and Resolved cases.
We will start by selecting Edit Filters:

The first filter will ensure only Active cases will pull through.
Click Add> Add row

Under field, select Status

The operator field defaults to Equals and select Active:

Add another row to narrow down the Active cases to only your business unit.

Under field, select Product:

Select Begins with in the operator field and type your business unit prefix. For e.g. CMP

Apply:

This will return all cases that are Active and with a product beginning with your business unit prefix.
Note - You must complete the Product field within the case for the case to appear in the view:

We will now save our changes.
Click into the view dropdown, select Save as new view:

Give the view a name and Save:


